An In Depth Look at Micro to Macro


PHOTO CHALLENGE | Take a minimum of 3 photos to create a micro to macro series of images that tell the story of a singular subject.
From extremely close to a wide scene, micro to macro is a powerful step by step process that makes the photographer see one subject in multiple ways. Oftentimes we get stuck in our ways and we see things at the same distance or focal length. One of the biggest components of storytelling is the ability to blend a variety of images that show the viewer the beginning, middle, and end scenes. Sometimes, that’s of a whole event, a day, a month, or a singular subject at one moment. In any case, the practice of micro to macro will set you up for success in getting that stair-step series.
In technical terms, micro and macro actually mean the same thing, making things look bigger, but in the context of photography, it’s actually a matter of scale. And in our project this month, we’re looking at the detail of a subject, a middle moment, and a wide shot featuring that subject. I am giving you the freedom to take and share more photos as your creativity explores, but if you need the parameters, stick to three.


This practice of micro to macro, a topic we’ve visited some time ago, is to improve our storytelling. In recent months we’ve explored storytelling in various forms, but one aspect that we can all work on to strength our transition shots/middle moments and creating a smooth flow from one photo to the next, is to remember to give your subject a little more time. While that first shot you took might be sufficient, it’s always worth the added effort to move around, get multiple angles, distances, and perspectives. Photography is never just one and done.


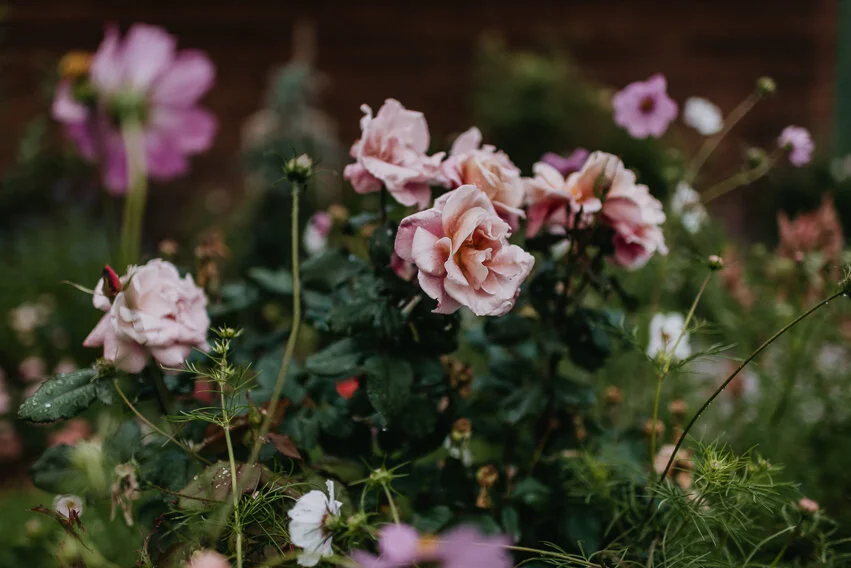
Move up, down, side to side, further and closer, to see just how far you can go. Try different orientations, vertical and horizontal. If you find your subject is lacking interest, consider what the background can offer, creating foreground framing, adding or waiting for light, or incorporate another object to enhance the scene. Also consider how you’re portraying your subject: Look at the leaves on the left–the series starts with an environmental shot that gives you a sense of location, weather, and time of day. The second image moves down lower and closer to single out a puddle and just a few leaves with the environment still in view but not in focus. Finally, we’re looking straight down at a single leaf in a puddle with a street light in the upper corner. At first glance this might not seem like a worthy subject, but paired with the other two images, you’re given a stronger sense of time and place, season and weather. Those elements are present in each and every shot, but given a completely different look and composition.
Some things to look for:
PLACEMENT
PERSPECTIVE
LIGHT
INTERESTING SUBJECTS
TELL A STORY
SUPPORTING ELEMENTS
WHAT INSPIRES YOU