Capturing Motion

BONUS PHOTO CHALLENGE | Practice freezing motion and panning in camera. Using a tripod and a remote shutter release (to prevent additional shaking from your hand) can help with stabilization.
Pro tip: Start panning sooner than your subject and follow through from left to right (or right to left) in one long sweeping motion. Press the shutter midway through your panning to capture the shot.
It’s no surprise that photographers often feel most comfortable shooting still subjects (flowers, landscapes, posed portraits, etc.). As you get more comfortable with your camera and with composition, learning to capture subjects in motion is the next step towards opening up your photo options and your skillset.
It takes more technical expertise to master the creative technique of freezing motion and motion blur, but it can make a big difference in the storytelling of your finished images.
If you think about the photos you’ve taken that have turned out blurry, there are THREE factors that gave you those results.
Think for a second, do you know what those those things are?
Knowing the technical components of your camera and the available light of your surroundings are what make you the strongest possible photographer. You’ll also create consistently high quality images when you’re unfailingly mindful of your shutter speed and the available light. When photos turn out blurry, it’s a combination of low light, too slow a shutter speed, and the movement of your camera when holding it in your hand.
So let’s look at some examples of settings that will help you capture intentional motion, starting with freezing an action.
Freeze motion is using your settings on your camera to stop the movement that is happening in your photo. As the photographer you want to get your shutter speed & aperture to work together to create a sharp photo, freezing the motion of your subject.
You want fast shutter speeds, like 1/400 or higher if you have a lot of light.
If you don’t have a lot of light, increase your ISO to help balance out the exposure, especially if you’re indoors. TIP: If you don’t like the amount of grain that can appear when using a high ISO, use the Luminance slider in Lightroom to soften the grain. Be careful, your photo can loose clarity and quality if used too much.
A fun tip to give your photos a little extra energy is to throw something in the air at the same time as the subject. Think also of natural elements, such as wind and water, to portray energy and motion!
It’s easier to get your entire moving subject in focus when using higher apertures. If You’re outside with plenty of light I will start around f3.5.
When I am indoors and need more light I will try to get my aperture closer to f2.8. Once you get really good at using high shutter speeds you can try using wider apertures to get that creamy bokeh while maintaining a sharp moving subject.
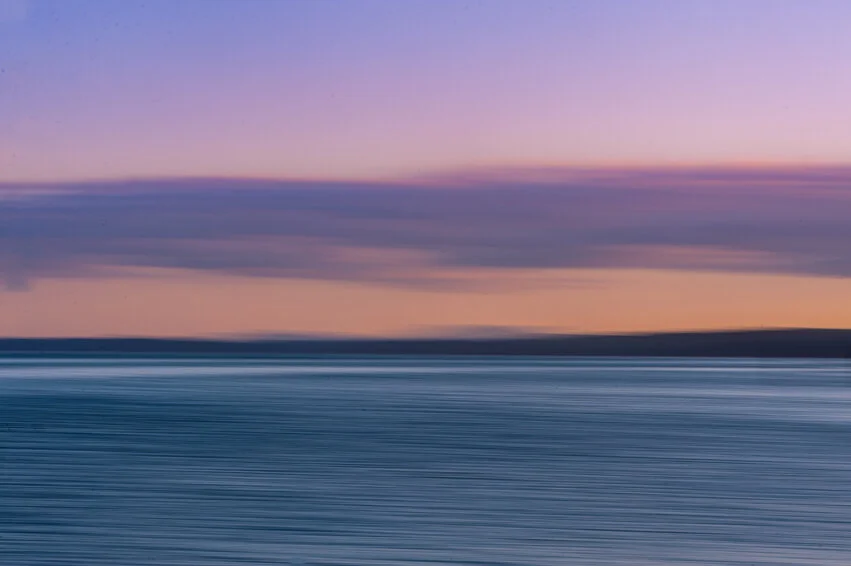
Panning motion is a neat way to freeze a moving subject while the background is blurred. This effect can be done in camera and while it’s a relatively easy concept, it takes a lot of practice, trial and error.
The camera follows the subject to create a sense of speed, which is often easier to practice in Shutter Speed mode (Nikon - S, Canon - Tv). You want your body as steady as possible so as to move from left to right in one fluid motion.
Select a slow shutter speed – start with 1/60s. Then experiment; try 1/30s or slower for more blur, 1/125s for less. It can also depend on your subject; a racing car will probably need a faster shutter speed than a cyclist.
Set the Shooting mode to Continuous. You will be able to minimize camera shake from pressing the Shutter button and get multiple shots in one go.
Track your subject but don't just do this when you are actually shooting. Follow them before, during and after in a smooth motion, shooting midway in the scene. For example, if the motion starts far off to your left, point your camera in that direction and begin following it until it’s directly in front of you, click the shutter, and keep following until they’re out of your scene.
Keep your camera and yourself as stable as possible by minimizing vertical and tilt motions.
Think about the composition, you don’t just have to have the subject in the center of the frame. When you track your subject, keep them in the same place in your viewfinder/screen as you shoot (left, right, high, low).
Your background should be a blur, so the background will be less important in your photo. But the overall colors will form an important part of your photo as they will be the frame for your subject.
Slow the shutter even more if you are shooting at night – then the blurred background lights can add real drama to your images.
Action and sports photographers are undoubtedly good at what they do, and it’s an impressive art. However, many of them have poor Instagram feeds and websites, with amazing photos missing from their social media portfolio, but they’re certainly worth a look.
Mirja Geh | She gets people in photos through sports photography, landscapes, and just plain old portraits.
Tom & Sherrin Woods | A husband and wife photographer team, they takes incredible panning shots of the ocean, of surfers, and water andscapes.
Jim Krantz | A unique and diverse portfolio, Jim has a very creative eye and some of the most incredible action shots.
Russell Ord | Russell has an ability to take some of the most amazing water and surf images, portraits, and landscapes.
Klaus Fengler | It’s rare to find a photographer that can take landscape photos differently than the masses. Klaus absolutely nails it with outdoor sports and landscapes.