8 Tips for Landscape Photography
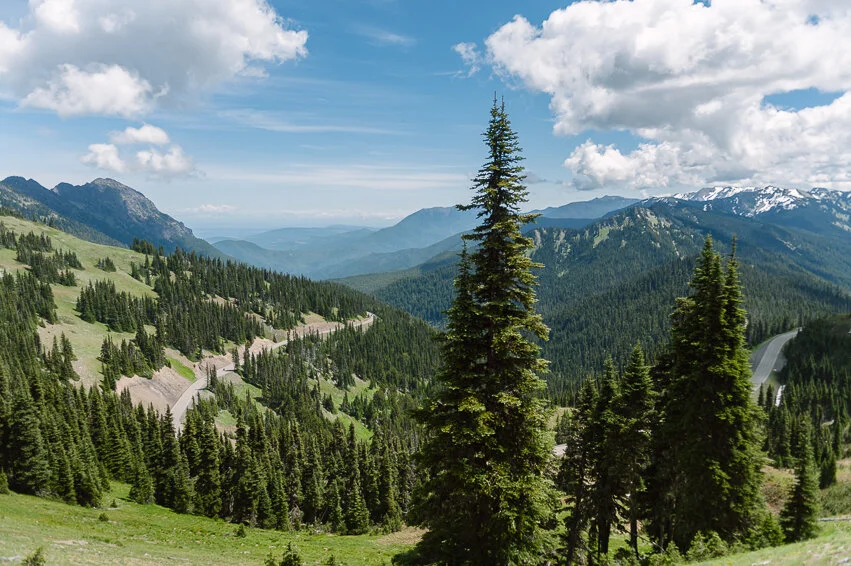


PHOTO CHALLENGE | Whether seeking a landscape scene at your home, nearby park, or at a destination location, take a series of photos that challenges your perspective, offers a micro and macro view, and get a variety of shots and compositions.
Check out these technical tips from landscape and adventure photographer, Chris Burkard.
As a photographer, you only have so much control over your surroundings. You’re undoubtedly at the mercy of mother nature, which makes what you can control most important in achieving good landscapes or nature photos.
Be Patient | This goes without saying, but is a necessary reminder. If you seek out the best times of day, lighting, or weather, you can take a plain, flat scene and transform it into something else altogether.
Depth of Field | While you often want to maximize your depth of field and get a clear, in focus image, you can also shift your perspective to focus on the foreground or other point of interest. While this isn’t going to be the main landscape shot, it offers a bit of variety and micro-macro for the scene.
Composition | Training your eye is the first step in a good photo composition, but I like to take a variety of shots that explore different compositions. Often times there’s a detail, framing, or lighting factor that I want more or less of. So while I’ll take the widest shot first, I’ll adjust my focal length and my composition and take several more shots. This is especially useful if the light or weather is changing rapidly.
Polarizing Filter | When it comes to water, moonlight, or other bright light scenario, a graduated, neutral density filter can help alleviate unwanted reflections, darken a bright sky, and create balanced exposure. Ensure the filter is right for your most used landscape lens, here’s a kit option to get you started (read the product description for compatibility).
LR Histogram | Histograms are an essential tool in photography which you should aim to learn how to read, and utilize the findings to improve your photos. A histogram is a simple graph that shows the different tonal distribution in your image. The left side of the graph is for dark tones and the right side of the graph represents bright tones.
For instance, if you find that the majority of the graph is shifted to one side, this is an indication that your photo is too light or dark (overexposed or underexposed). This isn’t always a bad thing, and some images work perfectly well either way. However, if you find that your graph extends beyond the left or right edge, this shows that you have parts of the photo with lost detail (pure black areas if the histogram extends beyond the left edge and pure white if it extends beyond the right edge). This is something you should avoid, so by seeing the evidence in the histogram, you are able to correct it by either recomposing the image or compensating for the exposure.
Don’t Settle | Always keep in the back of your mind that if you can do better, you should. Sometimes that means coming back for sunset or when the weather has more interest. Don’t throw out any images, but watch your growth or compare changes in the scene. Take note of what works and what doesn’t, what you want to do better next time. Revisiting the same location and forcing yourself to see and capture the scene differently can challenge your perspective.
Shoot in RAW | If your camera is capable of capturing photos in RAW format, than I recommend that you always capture RAW files. They contain much more detail and information, and give far greater flexibility in post-production without losing quality. Remember, you can always save RAW files in whatever other format you require, but you will not be able to save JPEGs as RAW files, so ultimately you are limited to the quality at which the JPEG was shot.
Try New Things | For all the techniques and rules that exist to help aid composition and the process of taking a photo, there is always room to experiment. Sometimes experiments don’t work out, but it’s worth trying, sometimes you’ll have an unexpectedly amazing result.