Hello
&
welcome!
Thanks so much for stopping by!
If you’re checking this out for the first time, I strongly encourage you to begin with these exercises before you do anything else. The idea here is that you’re encouraged to address some basic components in technical and creative skills at a foundational level. Even if you’re experienced in any of these topics, I encourage you to give them a try to see how intention plays a part and what you can create. Don’t forget to drop me a line so we can connect talesofloveandadventure@gmail.com. Honestly, don’t be shy, it helps if we get to know one another and talk shop for a while. I’d love to see what you’re up to, so please share your photos as you work through these prompts.


A snapshot of the monthly membership: With weekly prompts, immersive exercises, 1:1 support, and a private facebook group, you'll learn the essential skills to take your photography to the next level. Whether you're a beginner or an experienced photographer, this course will provide you with an insightful and creative direction learned from my (more than a) decade long photography career. Not only learning lighting, composition, and post-processing, you’ll learn how to style, pose, and really create something. Your art will transform before your eyes. I can’t wait to connect with you!
Let’s get started!

Light is everything in photography. The more you learn to use different types of light, the better and more confident you’ll be in any situation. No matter what type of photography you’re drawn to or whether you use artificial or natural light, you need to understand the varying types of light, how the direction of light will affect your photography and how to manipulate and control it.
Alternatively, if you’re lacking in light, don’t be afraid of your ISO. There is a time and place for that grain in your photos and if you want to tackle those difficult lighting scenarios, you’ll learn to embrace it; think of it as adding character.
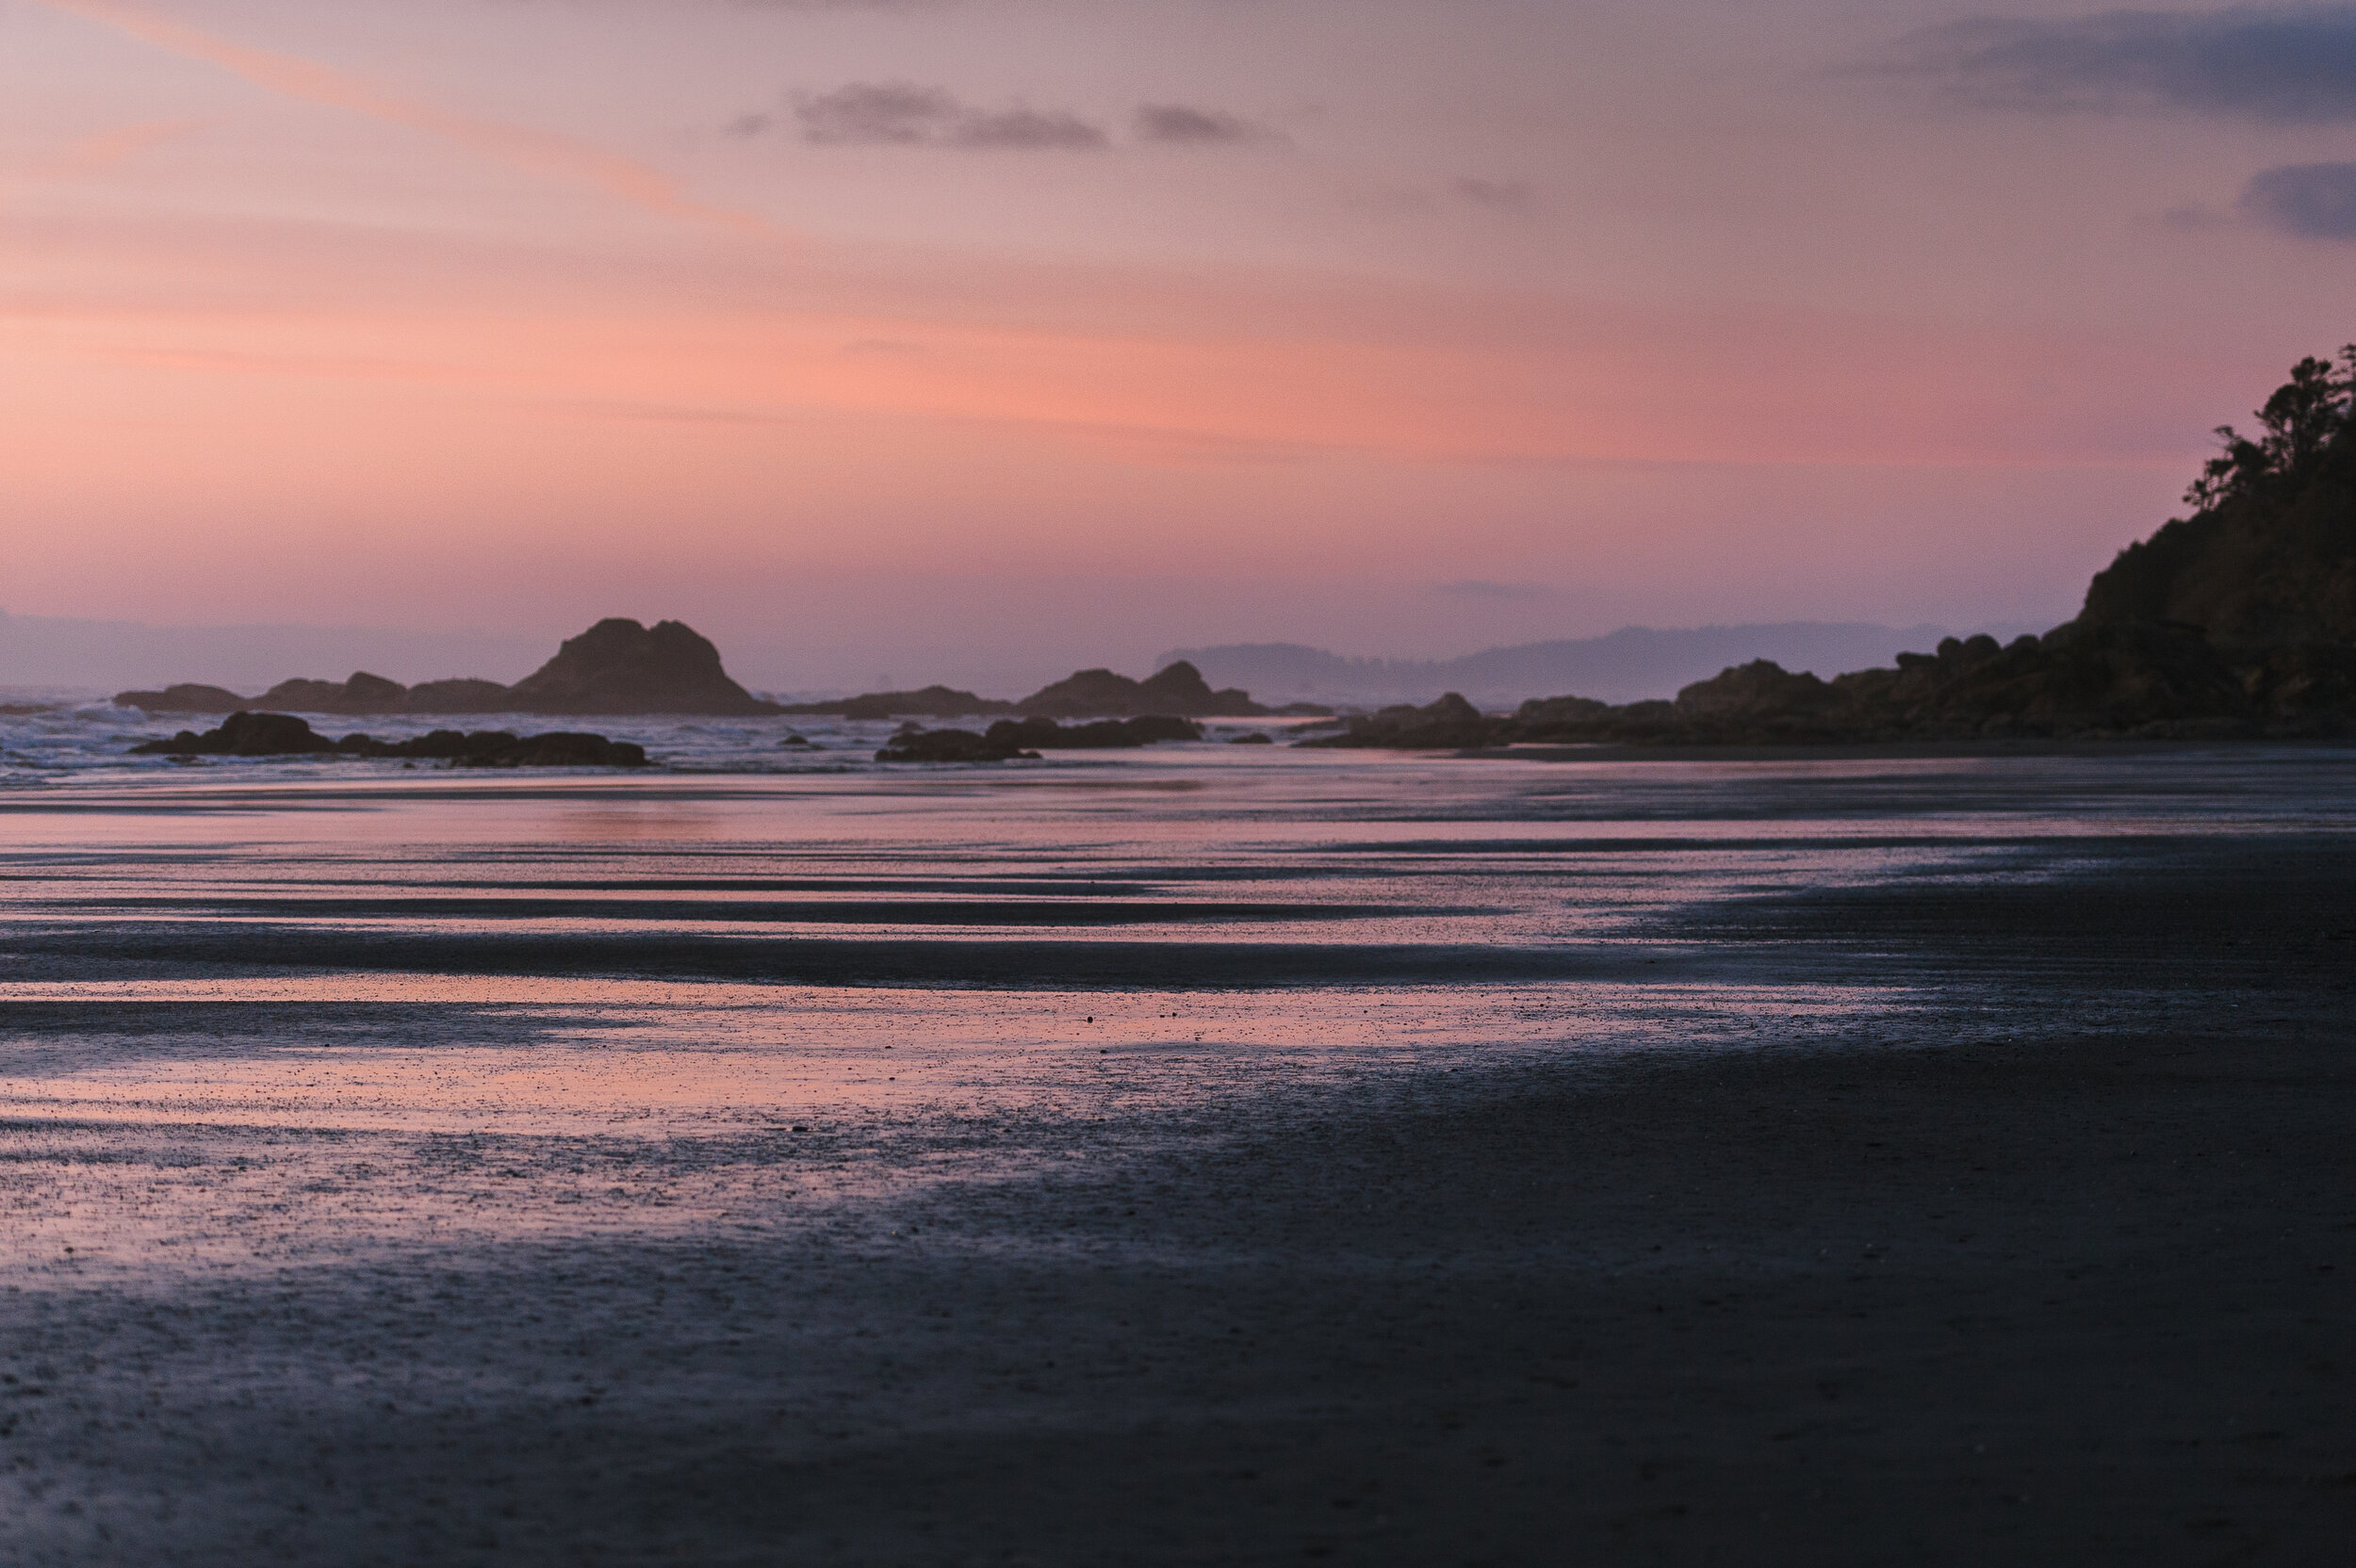
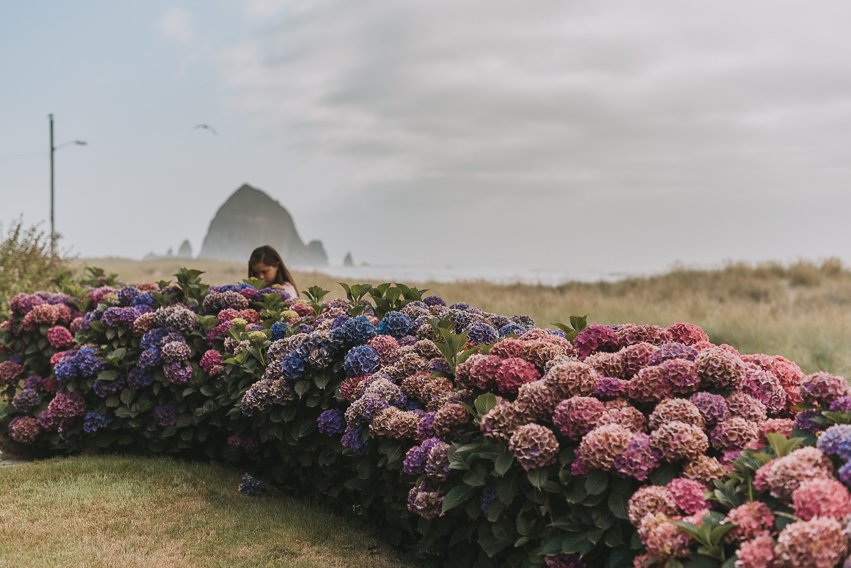
Harsh light is often found in midday when the sun is overhead and giving the greatest contrast between objects in a way that is often considered be most unflattering. You’ll also find harsh light when you have direct side light hitting a subject. It’s with these harsh lights that you’ll likely want to back light your subject if possible and create a flattering light effect. A safe and sure bet, especially when shooting portraits, is to find “open shade”. Look at the photos below, the areas where trees are casting shade and the remaining areas are in sun, would be considered open shade.


To understand light, you have to start by accessing what type of light it is and where it’s coming from. Is it direct light that is causing harsh shadows? Is it soft low light from a candle or nearby lamp? By moving around and allowing the lighting to change as it filters around your subject or through trees, you gain a lot of variety from one image to the next. If you’re shooting in manual mode, this will also prove a little more difficult as you need to be mindful of adjusting your exposure to compensate for full sun and shade. Practice will make this action easier to do and completely worth it.

Using the rule of thirds in more ways than one and exploring creative composition are just some ideas to lend creativity to your images. Using leading lines, framing, angles, and creating a foreground will also give you a creative composition. This particular exercise can be challenging if the opportunity doesn’t present itself to you obviously, however, searching for ways to compose your images a little differently will stretch and improve your skills immensely.


Knowing how to compose an image can be the difference between a good and a great photo, often, that intention will give a dynamic range to the viewer and draw them in. It helps to imagine the scene beforehand, prepare for the shot, and truly create a photograph. We’re stretching beyond “point and shoot” here, we’re after intention and creation.
Consider lines, shapes, lighting, and balance when composing, also look at color, angle, and detail. Moving around to test your shots can offer an entirely new perspective or capture light in an interesting way. If you’re looking to set up your scene by getting out your tripod, opening up exposure time, etc., just be sure that you’ve taken one photo before that. I’ve heard way too many photographers say they lost light, the subject, or the scene changed before they were ready. I’m here to tell you to take that shot quickly, then move on to taking your time. That doesn’t mean to throw creative composition out the window, but apply intention in two ways: compose and shoot, then set up, compose, and shoot.

By definition: White balance (WB) is the process of removing unrealistic color casts, so that objects which appear white in person are rendered white in your photo. Proper camera white balance has to take into account the "color temperature" of a light source, which refers to the relative warmth or coolness of white light.
White balance, like many aspects in photography, will prove challenging in the shift from AUTO. It’s one more thing to think about, especially if you’re still figuring out how to shoot on manual mode. I also find white balance to be very personal for the simple fact that everyone sees color differently and chooses the tone of their image based on how they like it. With that in mind, there are benefits to shooting with ‘Kelvin’ white balance for accuracy, consistency, and a greater range of color information gathered along with the rest of the RAW data. You also don’t have to use a gray card if that’s your thing (a gray card is a neutral color surface card for your camera to fine tune the coloring for the scene you’re in. You have to take a test shot and adjust your white balance from there). No thank you.
When thinking about white balance, some important notes to remember are that you essentially want to capture an image the way your eye sees it, or maybe even a little better. However, you don’t want to adjust color in an unrealistic manner in your RAW photo file and ideally, you want it to be as accurate as possible to minimize editing (because then you have to consider color profiles from your camera to your editing program, monitor calibration, and of course, your eye).
With this challenge, try using different white balance settings on your camera in different types of light, like a shady spot outdoors, daylight, indoor by window light, and indoor artificial light. Pull your images into your editing program and see how each one is to edit and take note of the temperature ranges you need to adjust and time spent on each. In the end, I recommend shooting Kelvin and simply adjust the color temperature based on your preference (I like warmer tones and natural light) and your surroundings. For example, I know that if I’m outside, I’ll shoot with a Kelvin white balance of 5200+, when I’m indoors, I’ll likely be shooting in the 4000 range. You’ll learn your preference as you go, and it’s easier to edit this way than from the extreme shifts caused by using AUTO white balance.


Capturing mood or emotion in photos is infinitely clearer when people are involved. However, if you aren’t a portrait photographer or don’t have a test subject, the idea of capturing emotion can feel nearly impossible. Let me tell that is simply untrue. The “mood” of your photos will ultimately tie into your branding, style, and even the components of how you shoot and edit.
I’m a big fan of shooting in various types of weather and light, and each of those elements can create very distinct moods. When you’re thinking of Visual Storytelling in a photo shoot, you’re actually looking to document elements of how you feel or an emotion you want to evoke in the viewer. Loneliness, sadness, happiness, and peace are all moods and emotions that you can creatively conjure up whether inside or outside. Create a still life scene with a jar of flowers, candles, cup of coffee, where you’re sitting with a warm blanket or beside a fire, take a walk after it rains, or first thing in the morning, use bright light spilling in through your window and play with shadows and light, etc. Whether you realize it or not, how you feel will show in your photos and/or make viewers feel something.
Bright color and light can evoke happiness or joy, dark and monochrome colors can elicit sadness or loneliness. The response is intimate to the photographer and the viewer, but the stronger those elements, the more direct the mood or emotion will be. Don’t overthink, identify what stands out to you, what you gravitate toward, and most simply, what you like best.


The only way to become a better photographer is to practice new skills. There are infinite resources online, but few direct you to an actual conversation to ask questions and have direct guidance from an experienced photographer. Working month-by-month with me will give you the opportunity to cut through the noise of information online and hone in on actual creative and technical skills.
We’ll continue meeting each month to talk about the photo challenges you did, what you’ve learned, where you might need more help, and how to improve. Continuing to learn is key to growth as a photographer, and whether you intend to earn a living or simply to document your days and your family better, you’ll start seeing results and thinking differently about the images you take.
MEMBERSHIP DETAILS: This monthly subscription a flexible opportunity to learn in a way no one else offers online (and in person if you’re local!). Through one of the featured courses, you’ll get access to a library of photography lessons and editing videos, as well as video chats or meetups with me. You can always ask for lessons tailored specifically to your photography needs, including small business help.